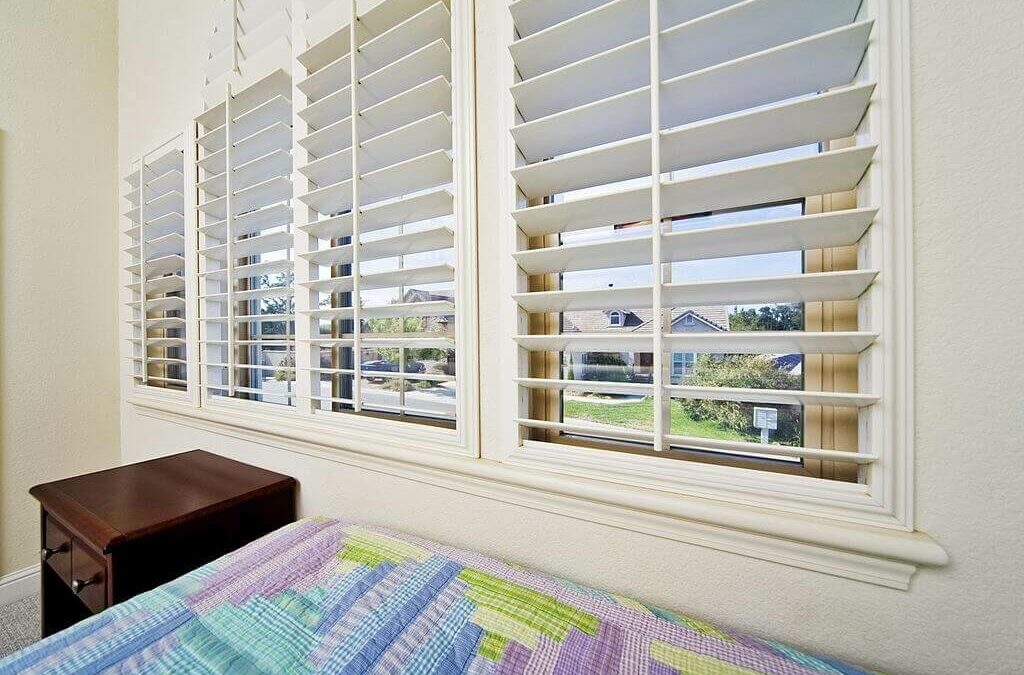
Doors and windows are often overlooked aspects of a house if you are planning on buying a house. This practice is fair enough until you have moved into the place. Now, you feel that the windows seem bare, or even morbid, and can use some touch of care. This is when window shutters come into the picture. Window shutters are great at keeping wind and dirt away from your house and keep the indoors clean. If you pay attention, you can get a great visual boost for your interior with attractive shutters. You can hire a handyman to do the job for you but it can be done, even when you have little to no experience.
In this post, we will go through a complete guide on how to perfectly install window shutters with no hassle.
Measurements
Proper measurement is the key when it comes to DIYing your way into a shutter installation. Since shutters are designed to fit inside the window casing, you need to be sure of how you are going to hang the shutters in their place to avoid any inconvenience.
For exterior shutters, they are pinned to the trim of the window. In turn, they turn into the window opening when they are closed on the bolt. The whole mechanism is kept in place using a catch, hook, or tieback.
Selection & Preparation Of Shutters
There are a number of types and forms of shutters that you can choose, from online or from your convenience store. Some are “ready-to-go” while others need some sort of preparation before you put them on the wall. If you are planning on customizing your shutters in some ways, like painting, make sure you give yourself a day to sort this out before going about installing the hardware.
Shutter Shimming
The safe way to avoid any miscalculation is by shimming your shutters on the wall. The best way to do this is by placing one shutter on the wall and then fasten both its head and tail with the wall. Then, take another one and fasten its flanks. Once it is done, proceed to the next step which is the installation of hardware.
Hardware Installation
When you put both shutters firmly in place, it is time to get the pivoting devices, such as metal tiebacks and hinges. Go from top to bottom and then unmount the shutters from the wall and complete the rest of the process of installing hardware. It includes drilling pilot holes in the top and bottom rail of the shutters and then screwing the strap hinges into the position.
Hang The Shutters
Once everything is in its place, it is time to hang the shutters back in their place. Screw-in latches and puts the tiebacks and hinges in their place. Make sure there are no tangled cords in the shutters which could cause trouble opening or closing them. When you follow this step-by-step guide, there is no way you feel any problem while installing your shutters.


